Basic Photography | Tips Getting Tack Sharp Images
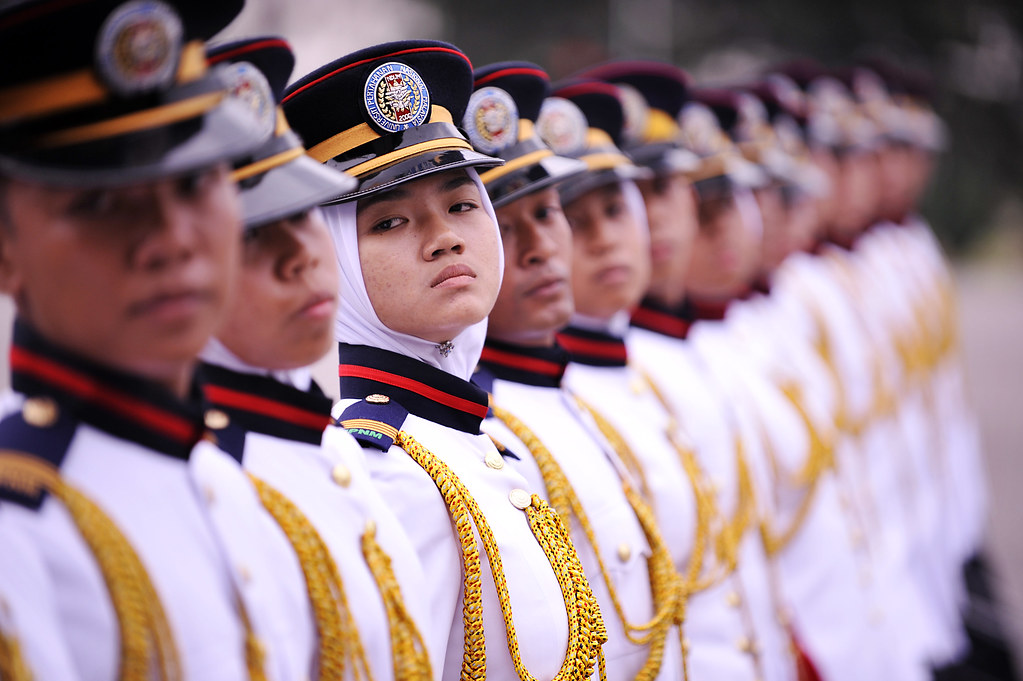
© 2012 Wazari Wazir | The National Defence University of Malaysia Cadet Officers | 70-200mm | ISO 400 | f/2.8 | 1/1000
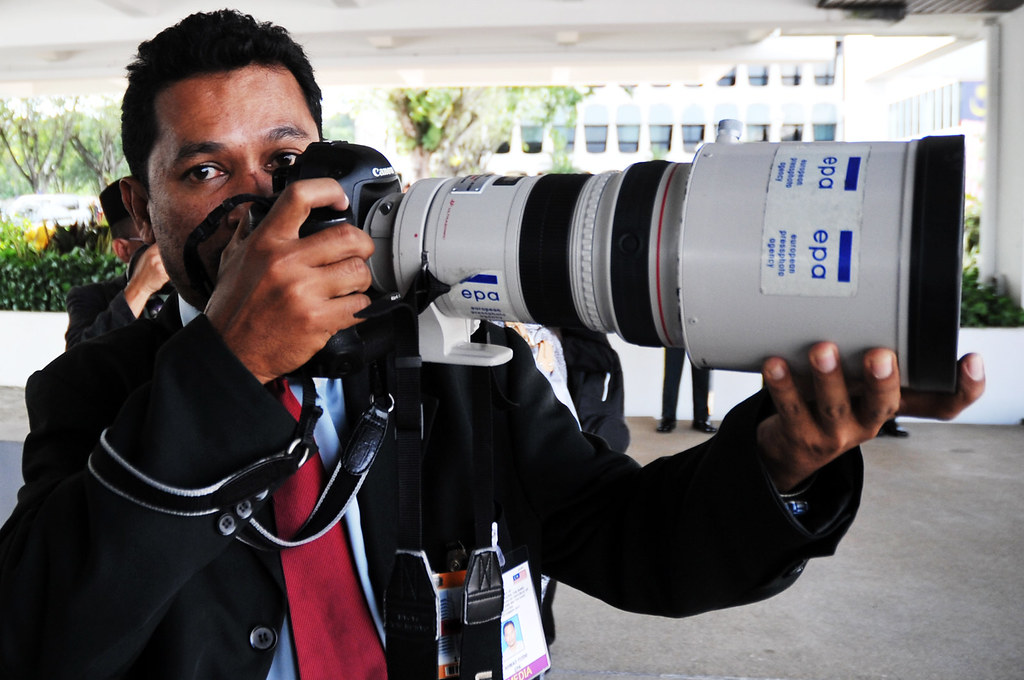
© 2012 Wazari Wazir | Ahmad Yusni from European Pressphoto Agency (EPA) | Kids Please Don’t Try Handholding 400m Lens | Leave it to The Professional
Actually there are many ways to get a sharp images and in this article, I will share some of my preferred choice when it comes to get the sharp image. The number one is off-course to get your focus right. Don’t expect the eyes to be sharp is what you are focusing is the background, so choose your focusing point correctly and that’s the reason why most camera gives you so much focusing point, for an example the latest Nikon D4 have 51 focusing point for you to choose from.
Depending on your camera, you can choose a wide variety of AF Mode like for an example Dynamic-area AF where your am era using few focusing point based on your preference to get the image in focus. For me, it better for you to test all of the available choice for yourself and pick one that you are most comfortable with.
Personally I like to use single point Auto Focus (AF) mode because most of the times, I’m shooting people or portrait. If you are landscape photographer maybe you wanted to use Dynamic-area AF to get maximum sharpness in your photograph.
In this article I will focus more on getting sharper images using large aperture like f/2.8. If you are landscape photographer, most of the times you will be using small aperture like f/8 and above and normally landscape photographers will be using a tripod to get the shot so, getting a sharp image for landscape photographers is not a problem.
Back to the photograph above, the second things to keep in mind for getting sharp images when hand-holding your camera and using large aperture is to make sure you are using very fast shutter speed. Have you ever heard of “Rule of Thumb”? The rule of thumb is to choose a shutter speed with a denominator that is larger than the focal length of the lens. For example if you are using 50mm Lens, 1/60th is probably ok but if you have a 200mm lens you’ll probably need to shoot at around 1/250 to get a sharp image but if you are using 300mm f2/8 lens, I suggest you to use a monopod and not hand-holding the 300mm lens while shooting at 1/350 or 1/400.
To be safe, don’t use rule of thumb for a start, instead just double the shutter speed compared to what the rule of thumb suggest, for an instance, if rule of thumb using 50mm lens is to shoot at 1/60, shoot it at 1/100, for the photograph above, those cadets were marching in front of me, even-though I use 70-200mm lens, I choose to use shutter speed of 1/1000 to get the image sharp because the subject is moving and please keep in mind also that rule of thumb work for non moving or slow moving subject but it is not practical when shooting fast moving subject, for an example if you are using 50mm lens at wide aperture of f/1.8 and you wanted to photograph your children running here and there, basically using 1/60 will not gives you a sharp image because your subject is moving, so double the amount and if you still get a blurred image, just increase the shutter speeds once again.
It takes experience to know which shutter speed is right of safe for you when hand-holding a camera, for a start normally it is safe to say that using a shutter speed of 1/60 is consider a “safe” choice if you are using 50mm or anything that is similar in size or weight like fixed wide angle or wide angle zoom lens like 16-35mm but if you are using 18-200mm lens and handholding your camera, it is better to use faster shutter speed than 1/200 to get a sharp images, even though you shoot at 18mm and not zooming in to 200mm.
But before you blindly increased the shutter speed, please take a look at your exposure, don’t simply increased the shutter speeds to freeze the subject but end up with underexposed photograph, we don’t want that to happen. When you increased the shutter speed please take a look at your exposure meter inside your viewfinder, if it shows that the photograph will be underexposed, then what you have to do next is to increase the ISO to get the right exposure. ISO -Aperture – Shutter Speed is the exposure triangle, you need to be able to control this three things to get proper exposure but for sharper images at large aperture like f/2.8 or larger, you need to pay close attention on the shutter speeds that you choose.
Sorry for the long article, actually it was pretty easy but sometimes it can get complicated because we need to take into consideration of all the factors involved. To make things easy, use fast shutter speed, double the amount that what the rule of thumb suggest, choose your focus point accurately and press your shutter button gently, do not jerk the shutter button, press it gently and you need to control your breathing especially if you are using longer telephoto lens like 70-200mm f/2.8 lens. Finally, before you take the shot, take a half-breath by filling your lungs partially with air, hold your breath and gently depress the shutter button fully. Hold your finger on the button until the photograph is taken, then release the button gently. A lot of people make the mistake of “snapping” or “jabbing” the shutter release button with a fast motion, and releasing the finger off the shutter release button quickly. That creates a sudden motion that leads to blurred photos.
Those little things does matter, yes, off-course when you are focusing the photograph, everything look sharp inside the viewfinder but when you look at the LCD at the back of your camera, only then you realize that the picture is blurred, so hopefully by understanding this little tips and tricks, you will be able to get a tack sharp pictures on your next endeavor.


One Comment
Ariff Tajuddin
TQ… great article